Making your own shorts is a rewarding and cost-effective way to expand your wardrobe. Whether you’re looking to repurpose old jeans or create a fresh pair from scratch, this guide will walk you through the entire process. With a few materials and some basic sewing skills, you can craft stylish shorts that fit your unique style and body perfectly.
Understanding the Basics of Shorts Making
Types of Shorts
Before you begin, it’s essential to understand the different styles of shorts you can create. Some popular types include:
- Denim Shorts: A timeless choice, perfect for casual outings.
- Tailored Shorts: Great for a polished look, ideal for work or semi-formal events.
- Athletic Shorts: Designed for comfort and movement, perfect for workouts.
- Bermuda Shorts: Longer shorts that provide more coverage, suitable for various occasions.
Knowing the style you want will guide your fabric choices and cutting techniques.
Materials You’ll Need
Gathering the right materials is crucial for making shorts. Here’s a list of what you will need:
- Fabric: Choose a fabric based on the type of shorts you want. Denim, cotton, or linen are great options.
- Sewing Machine: A basic sewing machine will suffice for this project.
- Measuring Tape: To ensure accurate measurements.
- Scissors: For cutting fabric.
- Pins: To hold fabric pieces together while sewing.
- Thread: Match the thread color to your fabric.
- Pattern (Optional): If you’re new to sewing, consider using a pre-made pattern for guidance.
Measuring for the Perfect Fit
How to Take Measurements
Accurate measurements are vital for achieving the right fit. Here’s how to measure yourself:
- Waist: Measure around the narrowest part of your waist.
- Hips: Measure around the fullest part of your hips.
- Inseam: Measure from the top of your inner thigh to your desired shorts length.
Record these measurements for reference as you cut your fabric.
Choosing the Right Size
Use a sizing chart to convert your measurements into the appropriate size. If you’re between sizes, consider going with the larger size for comfort, as shorts can be tailored down later.
Cutting Your Fabric
Preparing the Fabric
Before cutting, wash and dry your fabric to pre-shrink it. Iron the fabric to eliminate any wrinkles, making it easier to work with.
Creating Your Pattern
If you’re not using a pre-made pattern, create your own. Lay out your measurements on paper, drawing the desired shape of your shorts. Include seam allowances (typically ½ inch) to ensure you have enough fabric to sew.
Cutting the Fabric
Carefully cut along the lines of your pattern. Use sharp scissors for clean edges. Remember to cut two pieces for the front and two for the back of the shorts.
Sewing Your Shorts
Assembling the Pieces
Begin by pinning the front and back pieces together at the sides. Ensure the fabric is aligned evenly.
Sewing the Side Seams
Using your sewing machine, sew along the pinned edges, leaving a seam allowance. Remove the pins as you sew. Press the seams open for a neater finish.
Adding the Waistband
- Measure the Waistband: Cut a strip of fabric that matches the waist measurement plus seam allowance.
- Attach the Waistband: Pin the waistband strip to the top of your shorts, right sides together. Sew along the edge and press the seam down.
Hemming the Shorts
To hem the bottom of your shorts, fold the fabric up about ¼ inch and press. Fold again to encase the raw edge and pin in place. Sew along the edge of the hem for a finished look.
Adding Details and Finishing Touches
Pockets
Adding pockets can enhance both style and functionality. You can opt for side pockets or patch pockets:
- Side Pockets: Cut out pocket shapes from your fabric and attach them to the side seams before sewing the side seams together.
- Patch Pockets: Sew pockets onto the front of your shorts after completing the basic construction.
Decorative Elements
Consider adding embellishments like fabric paint, embroidery, or appliqués to personalize your shorts. This adds a unique touch and showcases your creativity.
Final Pressing
Give your shorts a final press with an iron to remove any wrinkles and give them a polished look.
Caring for Your Handmade Shorts
Washing Instructions
To keep your shorts looking great, wash them in cold water and hang them to dry. This helps maintain the fabric’s color and prevents shrinking.
Storage Tips
Store your shorts in a cool, dry place. Hanging them or folding them neatly will help retain their shape.
Common Mistakes to Avoid
Skipping Measurements
One of the biggest mistakes is not measuring correctly. Always double-check your measurements before cutting to avoid wasted fabric.
Ignoring Fabric Grain
Pay attention to the grain of the fabric when cutting. Cutting against the grain can result in distortion and affect the fit of your shorts.
Not Using a Test Fabric
If you’re unsure about a pattern or design, test your techniques on scrap fabric first. This can save you from making costly mistakes on your final piece.
Exploring Different Styles of Shorts
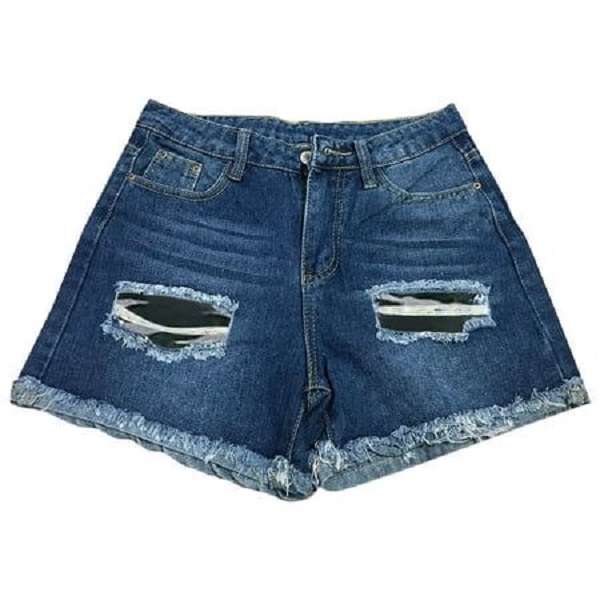
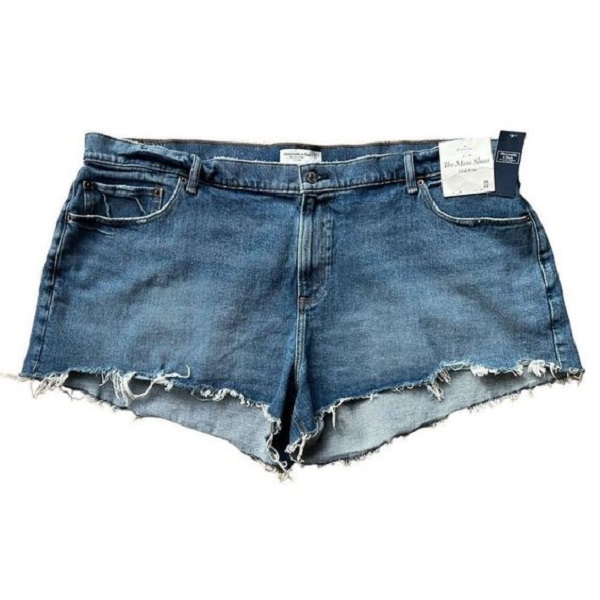
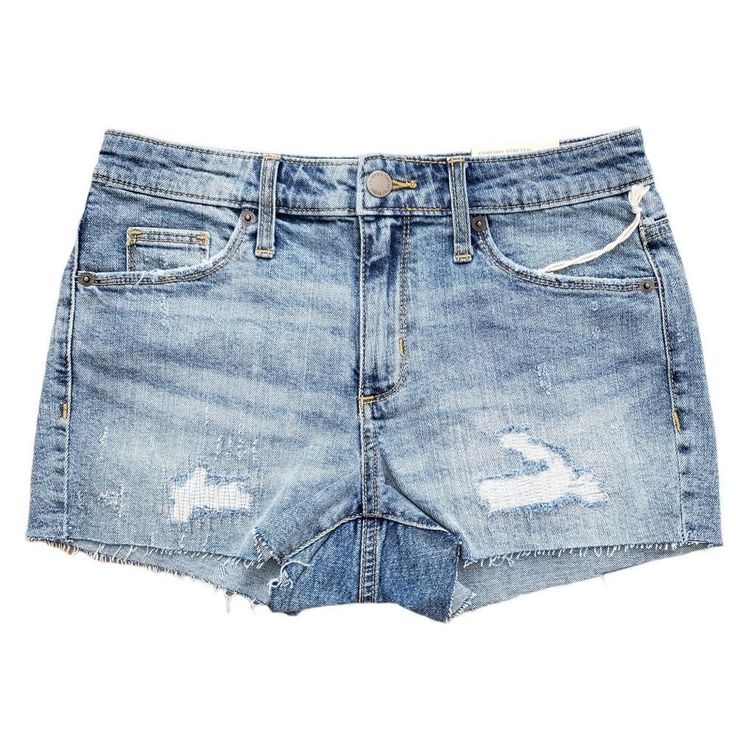
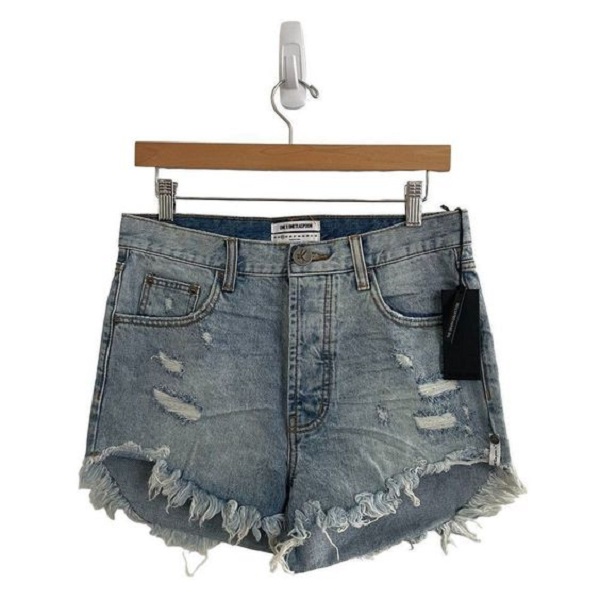
Casual Denim Shorts
Denim shorts are a wardrobe staple for their versatility. They can be dressed up with a blouse or down with a t-shirt. Here’s how to make them:
- Select Your Denim: Choose a pair of old jeans or new denim fabric.
- Cut to Length: Decide how long you want your shorts. A mid-thigh length is popular.
- Fray the Edges: For a trendy look, cut the hem slightly longer and fray the edges by pulling at the threads.
Tailored Shorts for a Polished Look
Tailored shorts offer a sophisticated alternative for events or work. Follow these steps:
- Choose a Lightweight Fabric: Fabrics like linen or cotton blend work well.
- Create a Custom Pattern: Design a fitted pattern, ensuring it has a tailored look.
- Add a Zipper: For a professional finish, insert a zipper at the side or back.
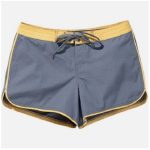
Athletic Shorts for Comfort
If you’re looking for comfort during workouts, athletic shorts are your best bet. Here’s how to make them:
- Opt for Moisture-Wicking Fabric: Choose a breathable, stretchy fabric.
- Design a Loose Fit: Athletic shorts should be roomy. Use your hip measurement as a guide.
- Add an Elastic Waistband: This ensures comfort and ease of movement during activities.
Creative Techniques for Unique Shorts
Tie-Dye or Fabric Paint
Transform plain fabric into a colorful masterpiece with tie-dye or fabric paint.
- Preparation: Use 100% cotton fabric for the best results. Pre-wash to remove sizing.
- Design Your Pattern: Use rubber bands or string to create sections for dyeing.
- Apply Dye: Follow the instructions on the dye kit, allowing it to set before rinsing.
Patchwork Styles
Patchwork shorts allow you to use up leftover fabric scraps creatively. Here’s how to create this unique style:
- Cut Fabric Pieces: Gather various fabric scraps in complementary colors.
- Arrange and Sew: Stitch them together in a patchwork pattern before cutting to shape your shorts.
- Finish the Edges: Use bias tape or a zigzag stitch to prevent fraying.
Inspiration and Trends
Current Fashion Trends
Stay up-to-date with the latest shorts trends to ensure your creations are stylish. Popular trends include:
- High-Waisted Styles: Perfect for pairing with crop tops.
- Bermuda Shorts: These longer shorts offer a chic alternative.
- Sporty Looks: Incorporate drawstrings and side stripes for a casual vibe.
Finding Inspiration
Browse fashion magazines, Pinterest, and social media platforms for inspiration. Save images of styles you love and try to replicate them with your unique twist.
Troubleshooting Your Shorts-Making Process
Dealing with Fabric Issues
If you encounter issues such as fabric slipping or fraying, try these tips:
- Use Fabric Weights: Place weights on your fabric while cutting to prevent movement.
- Finish Edges: Use a serger or zigzag stitch to finish edges and avoid fraying.
Adjusting Fit Problems
If your shorts turn out too tight or loose, don’t worry! Here’s how to adjust:
- Take in the Sides: If the shorts are too loose, sew a new seam along the sides.
- Add a Gusset: If they are too tight, consider adding a gusset in the crotch area for extra room.
Start Making Your Own Shorts Today!
Creating your own short is not only a fun project but also a way to express your personal style. With the right materials, measurements, and techniques, you can craft a unique pair of shorts that fit perfectly.