Creating a top hat is an art that transcends generations. A symbol of sophistication, elegance, and a touch of whimsy, the hat has secured its position in fashion history. Whether you desire a classic black hat for a formal event or a colorful creation for a festive gathering, learning how to make a top hat provides an opportunity for self-expression and creativity. This comprehensive guide will take you step-by-step through the materials, techniques, and styling tips needed to create your own unique top hat.

Understanding the History of the Top Hat
Before diving into the process of how to make a hat, it’s essential to appreciate its historical significance. The top hat emerged during the late 18th century and quickly became a staple in men’s fashion. Initially worn as an everyday accessory, it transcended into a symbol of prestige, particularly associated with the upper class.
Evolution of the Top Hat
The design evolved from the earlier styles of hats, such as the cocked hat, gradually taking on the cylindrical form we recognize today. It played a notable role in various social gatherings, signifying a certain level of decorum and sophistication. Famous figures, from Abraham Lincoln to Fred Astaire, donned the top hat, embedding it further into the fabric of fashion history.
Cultural Significance
The top hat is not just a fashion item; it carries cultural significance. In Western societies, it often appears in theatrical performances, weddings, and even as a parody in cartoons, symbolizing a blend of elegance and whimsy. Understanding this context can inspire your design choices as you embark on the journey of crafting your top hat.
Gathering Your Materials
The first step in learning how to make a top hat is to gather the necessary materials. The type of materials you choose will significantly affect the look and feel of your finished product.
Key Materials Required
- Fabric: You can choose from a variety of fabrics, depending on your desired style. Wool felt is a traditional choice, while silk can create a more luxurious appearance.
- Hat Base or Wire Frame: This will serve as the foundation of your hat. Pre-made hat bases are available, or you can create your own using heavy-duty cardboard or wire.
- Straw: If you’re aiming for a lighter, summer hat, you can consider using straw as a primary material.
- Adhesive: Strong fabric glue or a hot glue gun will help secure your materials together.
- Scissors: A good pair of fabric scissors is essential for clean cuts.
- Measuring Tape: Precision is key when crafting a hat that fits well, so ensure you have a measuring tape on hand.
- Decorative Elements: Think about ribbons, feathers, or embellishments to personalize your creation.
Optional Tools
- Sewing Machine: This can expedite the process, especially if you’re sewing multiple layers of fabric.
- Hat Block: If you are serious about hat-making, investing in a hat block can help shape the hat accurately.
Before starting, ensure you have a comfortable workspace where you can spread out your materials and work efficiently.

Cutting and Shaping the Fabric
Once you have your materials ready, it’s time to start cutting and shaping. This step is crucial, as precise measurements will determine the fit and style of yours.
Measuring Your Head
To create a fits well, start by measuring the circumference of your head. Use your measuring tape, ensuring it sits comfortably above your ears and eyebrows, where you would normally wear a hat.
Preparing the Fabric
- Creating the Crown: The height of the crown can vary depending on your preference. Traditionally, it has a height of about 5 to 6 inches. Cut a rectangular piece of fabric based on your measurements, making sure to add a seam allowance.
- Forming the Brim: The brim can be as wide or narrow as you desire. A broader brim creates a more dramatic look. Cut a circular piece of fabric that can be attached to the base of your crown piece.
Shaping the Fabric
Using a combination of wetting and shaping techniques, begin forming your pieces. If using felt, steam it lightly to make it pliable, then shape it around a round object to begin forming the crown.
Assembling Your Top Hat
With your fabric pieces cut and shaped, it’s time to assemble yours. This process can differ slightly depending on whether you’re using it frame or constructing it from scratch.
Attaching the Crown
- Take the Crown Piece: Begin by attaching the brim to your crown. Pin or clip the edges of the fabric together, ensuring they align smoothly.
- Sewing the Pieces Together: Sew around the base of the crown, securing it to the brim. If you’re not sewing, you can use a strong fabric adhesive. Allow it to dry before moving on to the next step.
Finalizing the Shape
- Reinforcement: If the brim or crown feels flimsy, consider adding a stiffener (available at craft stores) to provide extra support.
- Creating the Hatband: Cut a strip of fabric that will serve as the hatband. This adds a polished finish to your top hat. Attach it just above the brim using glue or by sewing it in place.
Adding Decorative Touches
What makes your top hat truly unique are the decorative elements you choose to include. Here is where your creativity can shine.
Choosing Accents
- Ribbons and Bows: These can be tied around the base of the crown or across the band. Choose colors complement your fabric.
- Feathers: Adding a feather or two can introduce a playful element. Fresh flowers can also work if you want a more natural look.
- Brooches and Pins: Consider attaching vintage brooches or decorative pins for an added touch of elegance.
Personalizing Your Design
Remember that this is your creation. Feel free to explore unconventional combinations of colors and textures. Your top hat should reflect your personal style.
Maintaining and Caring for Your Top Hat
After putting in all effort to create one, the last thing you want is for it to wear out quickly. Proper care and maintenance are key to preserving your masterpiece.
Storage Tips
- Keep it Dry: Store your top hat in a cool, dry place to prevent moisture from damaging the fabric.
- Use a Hat Box: Invest in a box that protects the shape and design of yours. Avoid pinching or crushing it during storage.
Cleaning Your Top Hat
- Regular Brush: Use a soft brush to remove dust. For felt hats, a specialized hat brush is ideal.
- Spot Cleaning: For stains, use a damp cloth with a gentle cleaning solution suited for your fabric. Test any cleaning products on a small area first to ensure they do not damage the material.
- Professional Cleaning: For deep cleaning or major repairs, consider taking your hat to a professional milliner who can restore it to its former glory.
Exploring Different Styles of Top Hats
Now that you have a foundational understanding of how to make a top hat, let’s look at some popular styles. Each style can reflect different aesthetics and occasions, allowing you to tailor your creation even further.
Classic Black Top Hat
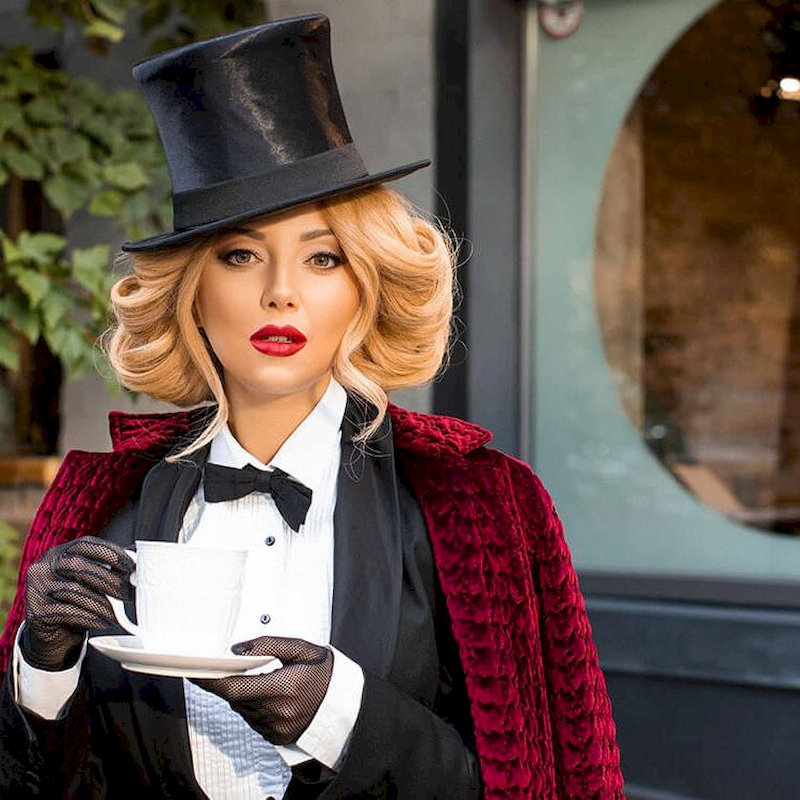
The classic black one remains the most recognized style, often associated with formal occasions. This version typically features a tall crown and a wide, flat brim. It’s perfect for black-tie events, weddings, or theatrical performances. When creating this style, consider the following details:
- Material Selection: Wool felt is the traditional fabric, providing both structure and elegance.
- Lining: Adding a silk or satin lining can enhance the hat’s luxurious feel.
Colored and Patterned Top Hats
For those seeking something less conventional, colored and patterned top hats are a fantastic option. Whether you prefer bright shades or patterned fabrics, this style can be a fun addition to your wardrobe.
- Fabric Choice: Consider using cotton or patterned silk for a playful look. Floral patterns or polka dots can add a whimsical touch.
- Embellishments: A contrasting ribbon or a bold feather can make your colored top hat pop even more.
Vintage and Steampunk Styles
Steampunk fashion has reimagined the traditional top hat with unique adaptations that incorporate Victorian elements, gears, and industrial aesthetics. If you want to create a vintage or steampunk-inspired top hat, consider these features:
- Accessorizing with Gear: Attach small gears, clock parts, or goggles for that quintessential steampunk feel.
- Distressing Techniques: Use fabric dye or sandpaper to create a well-worn look, giving your an authentic vintage vibe.
The Stovepipe Hat
A variant of the top hat is the stovepipe hat, which is characterized by its very tall and straight crown. This style has been seen in various performances and historical reinventions.
- Height: The unique aspect of this it is its height, often measuring more than 8 inches. Measure carefully to ensure your hat stands tall and proud.
- Maior Detail Orientation: Focus on embellishments and fabric texture, as the height will draw more attention to these areas.
Bowler Hats and Derby Hats
Although not technically a top hat, both the bowler and derby hats offer a similar level of sophistication but in a more rounded shape. They’re perfect alternatives if you’re looking to expand your hat collection beyond the one.
- Differences in Construction: Bowler are more curved and typically have a smaller brim compared to hats. The assembly process is similar, but consider shaping the crown in a more rounded form.
- Color Options: Experiment with various colors and fabrics, from wool felt for classic looks to straw for summer styles.


