Drawing is a skill that combines creativity with technique, allowing artists to express their unique styles and ideas through their work. When it comes to clothing accents, headwear plays a significant role in defining character and personality in illustrations. One classic piece of headwear, the top hat, has a rich history and an immediately recognizable shape. Whether you’re illustrating a whimsical character in a story, designing a classy gentleman, or adding a vintage touch to your artwork, learning how to draw a top hat on a head can enhance your illustrations significantly. In this comprehensive article, we will delve into the intricacies of drawing a top hat, discuss important techniques, the anatomy of the hat itself, and how to integrate it seamlessly into your head and figure drawings. We will also provide useful tips, common mistakes to avoid, and various styles to consider when drawing this elegant accessory.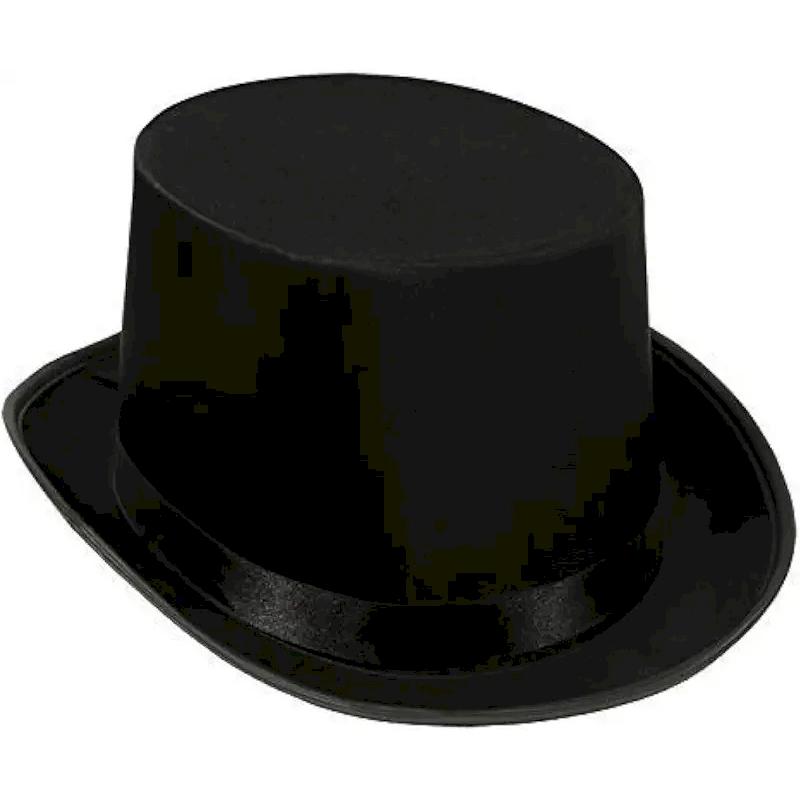
Understanding the Top Hat: Its Characteristics and History
Before delving into the artistic process of drawing a top hat, it’s essential to understand what makes this accessory unique.
Historical Background
The top hat has been associated with sophistication and formal occasions since the early 19th century. Originally created as a horse riding hat, it transitioned into formal wear, becoming a staple in aristocratic and gentlemanly attire. It was popularized in the late 1800s and often linked to upper-class society.
Distinctive Features of the Top Hat
When learning how to draw a top hat on a head, it’s crucial to note the distinctive characteristics that define its form:
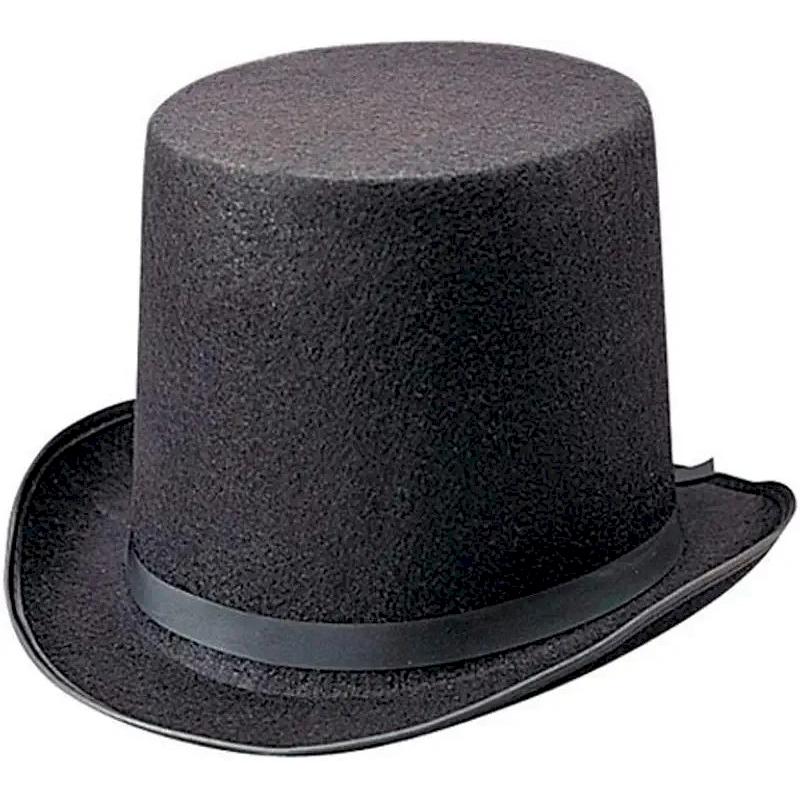
- Tall Crown: The most defining feature is its tall, cylindrical crown, which gives it an elegant silhouette.
- Brim: The broad, flat brim that extends horizontally from the crown balances the height of the hat.
- Material: Traditionally, top hats were made from silk or felt, giving them a shiny, smooth appearance. Understanding how material affects appearance assists in rendering the hat correctly.
Different Styles of Top Hats
In modern fashion and art, various styles of the top hat exist:
- Classic Black: A traditional black top hat, often seen in formal events like weddings and galas.
- Colored Top Hats: Modern illustrations often use colored and patterned top hats, adding whimsy to the character design.
- Short Brimmed Top Hats: Some designs feature reduced brim sizes, lending a unique twist to this classic hat.
By examining these features and their aesthetics, it becomes easier to replicate the top hat’s characteristics in your drawings.
Preparing to Draw: Necessary Tools and Materials
Before starting to draw, gathering the right tools and materials is essential for a smooth creative process. Having quality supplies enhances your ability to create detailed and expressive artwork.
Recommended Drawing Materials
Here’s a list of helpful tools for drawing a top hat:
- Pencils: Use a variety of pencils for sketching. A softer pencil (like a 2B or 4B) is great for shading and detailing, while a harder pencil (like HB or F) is best for initial outlines.
- Erasers: A kneaded eraser is perfect for lifting graphite without damaging the paper, while a regular eraser can be used for larger corrections.
- Fine Liners or Inks: For final outlines, consider using fine liners or ink pens in various thicknesses to add detail and depth.
- Paper: Choose a good quality drawing paper or sketchbook that can handle various mediums.
- Coloring Tools: If adding color, choose colored pencils, markers, or watercolor paint based on the finish you desire.
Setting Up Your Workspace
Creating an inspiring workspace can enhance your focus. Ensure you have:
- Good Lighting: Natural light is ideal, but adequate artificial lighting works as well.
- Comfortable Seating: A chair that supports good posture will help during longer drawing sessions.
- Organized Space: Keep your materials organized and within reach to maintain a fluid workflow.
Step-by-Step Instructions on How to Draw a Top Hat on a Head
Now that you have an understanding of the top hat’s characteristics and have gathered your materials, let’s move on to the practical aspects of drawing. Here is a step-by-step guide to help you draw a top hat on a head.
Sketching the Head
- Basic Shape: Begin by sketching a basic oval to represent the head. Keep the proportions in mind, especially where the hat will sit.
- Guidelines: Lightly draw a horizontal line at the top of the oval to indicate where the bottom of the top hat will rest.
- Facial Features (Optional): If desired, you can include facial guidelines to help with positioning features later, but this should be done lightly, as the focus is on the hat.
Drawing the Top Hat
- Crown Shape: Starting at the horizontal guideline, draw a tall, cylindrical shape representing the crown of the hat. Ensure the top is slightly rounded, not perfectly flat.
- Brim Construction: Draw a wide brim at the base of the crown, extending it outwards. The brim should have a slight upward curve at the edges for a more natural look.
- Create Depth: Add shading lines on the side of the crown and along the brim’s underside to give the hat depth. Consider where your light source is to determine how to shade the top hat correctly.
- Complete the Shape: Ensure the lines flow smoothly and check that they match the elegant style typical of a top hat.
Adding Details
- Fabric Texture: If desired, add texture details to suggest the material of the top hat. Curved lines can indicate the silk or felt’s sheen.
- Decorations: Some top hats feature ribbons or decorative bands. If you choose a decorated style, draw these embellishments around the base of the crown.
- Shading and Highlights: To enhance three-dimensionality, deepen some shading on one side and add highlights on the opposite side where light would naturally hit the fabric.
Finalizing the Drawing
- Outline with Ink: Once satisfied with the pencil sketch, go over the lines with fine liners or ink for a polished look. Choose different thicknesses for variation.
- Erase Guidelines: Carefully erase all pencil guidelines that are no longer needed, ensuring not to smudge the ink.
- Color Application (Optional): If coloring, choose a shading style that fits the top hat you have drawn. You can use gradients for smooth transitions in color or maintain a classic black-and-white style.
Common Mistakes and How to Avoid Them
While learning how to draw a top hat on a head, it’s common for beginners to encounter several pitfalls. Here are some common mistakes and tips to avoid them:
Overcomplicating the Shapes
Keeping the initial shapes simple helps build a strong foundation for your drawing. Don’t rush to add detailed elements too early in the process.
Not Considering Proportions
Pay attention to the proportions of the hat relative to the head. A top hat is typically larger than many other hats, so adapt your sizing accordingly.
Ignoring Light and Shadow
Understanding the influence of light and shadow is crucial in creating depth. Use your light source to guide shading choices, enhancing realism.
Skipping Measurements
Consider measuring the head proportions relative to the hat using your pencil as a guide. This technique improves accuracy when drawing the relationship between the two forms.
Inconsistent Style
Maintain a consistent style throughout your drawing. Whether you choose realism or a more cartoonish style, try to keep proportions and features synchronized.
Enhancing Your Skills: Practice Techniques
Improving your skills at drawing top hats (and general drawing) comes through practice. Here are some techniques to help you refine your craft:
Regular Sketching
Carrying a sketchbook allows you to practice drawing whenever inspiration strikes. Draw different variations of top hats and heads to build your confidence.
Different Perspectives
Experiment with drawing top hats from various angles. This practice helps you understand how the hat takes shape in relation to the head from different viewpoints.
Study References
Look at photographs or illustrations of top hats and how people wear them. Studying different styles can inspire your drawings and lead to unique interpretations.
Participate in Challenges
Engage in artistic challenges or prompts to push your creativity. Competing with others or challenging yourself can foster growth and exploration in new styles.
Online Tutorials
Leverage online platforms that offer tutorials for drawing hats, heads, or figure drawing. Many artists share tips and techniques to broaden your understanding.
Exploring Variations of Top Hats in Art
While learning how to draw a top hat on a head, remember that there are endless variations you can explore. Consider experimenting with different types to broaden your artistic horizons.
Fantasy Top Hats
Consider creating whimsical or fantastical versions of a top hat. Incorporate elements such as feathers, flowers, or vibrant colors that take your artwork to a new level.
Historical Variations
Explore different historical time periods where top hats were prominent, adapting your designs to match various styles from those eras, such as Victorian or Edwardian influences.
Cultural Interpretations
Investigate how top hats manifest in various cultures, leading to unique presentations of the accessory when drawn on characters.
Character Designs
Consider how different characters might wear top hats. Adjust the hat style based on personality traits; for instance, a gentleman’s traditionally tall top hat might differ from a child’s whimsical creation.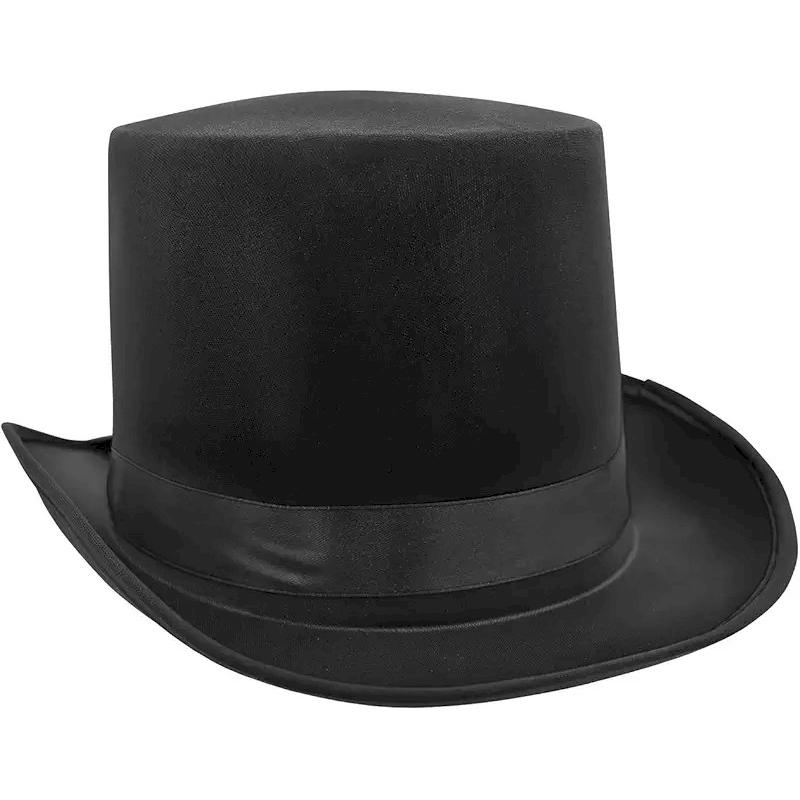
Conclusion
Drawing a top hat on a head combines both technique and creativity, making it a rewarding endeavor for artists of all skill levels. By following the guidance in this comprehensive article, you are well-equipped to master the intricacies of drawing a top hat, from understanding its characteristics to perfecting your technique.
Explore the world of top hats, allowing your imagination to take flight with variations, textures, and styles. The ability to draw this classic accessory adds depth to your artistic repertoire, enhancing character design and overall illustration quality.
Remember, practice is key. The more you engage with drawing, the more confident you will become in your skills. Celebrate your victories, learn from your mistakes, and embrace the unique journey of becoming a proficient artist. In time, you will find that the hat you draw will not only hold its shape but also add a captivating charm to the characters you create.