Are you looking to try your hand at a delightful crochet project? Crocheting a top hat can be a fun and rewarding experience, perfect for those who want to add a unique accessory to their wardrobe or create a memorable gift. Whether you’re preparing for a special event, costume party, or simply want to cheer up a friend, a hand-crocheted top hat adds charm and flair. This comprehensive guide on how to crochet a top hat will take you on a journey through the entire process, from selecting the right materials and yarn to understanding various stitches and patterns. By the end of this article, you’ll be equipped with all the knowledge needed to create a beautiful top hat that you can proudly wear or give away.
Understanding the Basics of Crocheting
Before we dive into the intricate details of how to crochet a top hat, it is essential to grasp the fundamentals of crochet as a craft.
What is Crochet?
Crochet is a method of creating fabric from yarn using a hooked needle. Unlike knitting, which employs two needles, crochet only requires one hook, making it a more accessible crafting technique for many beginners.
- History: Originating in the early 19th century, crochet has evolved into a beloved craft that has various cultural significance and related techniques around the world.
- Types of Crochet: There are different crochet techniques, such as Tunisian crochet, freeform crochet, and filet crochet, enabling crafters to create a wide range of patterns and textures.
Essential Crochet Terminology
Familiarizing yourself with some common crochet terms can help significantly in your understanding of patterns and instructions.
- Ch (Chain): This is the starting stitch in most crochet projects.
- Sc (Single Crochet): One of the basic stitches, where the hook goes through the stitch, yarn over, and pulls through both loops on the hook.
- Dc (Double Crochet): Another fundamental stitch, made by yarn over, pulling through a loop, and continuing to pull through loops until two remain on the hook.
- Gauge: Referring to the number of stitches and rows in a specified measurement. Understanding gauge is crucial in determining the size of your finished top hat.
Gathering Materials and Tools for Your Top Hat
To crochet a top hat, you will need a selection of materials and tools to ensure a smooth crafting experience. Gathering everything beforehand will streamline the process.
Essential Materials
- Yarn: Choose a medium-weight yarn for best results. Acrylic and cotton blends offer both softness and durability, making them ideal choices for hats.
- Crochet Hook: A standard size of H/8 (5 mm) is recommended for medium-weight yarn, though you can adjust according to your yarn’s specific gauge.
- Scissors: A pair of sharp scissors is necessary to cut the yarn at the end of your project.
- Yarn Needle: Also known as a tapestry needle, it has a large eye to help weave in ends and sew pieces together.
- Stitch Markers: Use these to keep track of rounds and stitches, which is especially helpful when working in the round.
Optional Materials
- Felt Fabric: If you wish to line the inside of the hat for added comfort and style, felt fabric is a good option.
- Decorative Elements: Consider bows, ribbons, or embellishments to personalize your top hat once you’ve completed the basic construction.
Understanding the Different Styles of Top Hats
Top hats come in various styles, and understanding these differences can help you determine which design you want to crochet.
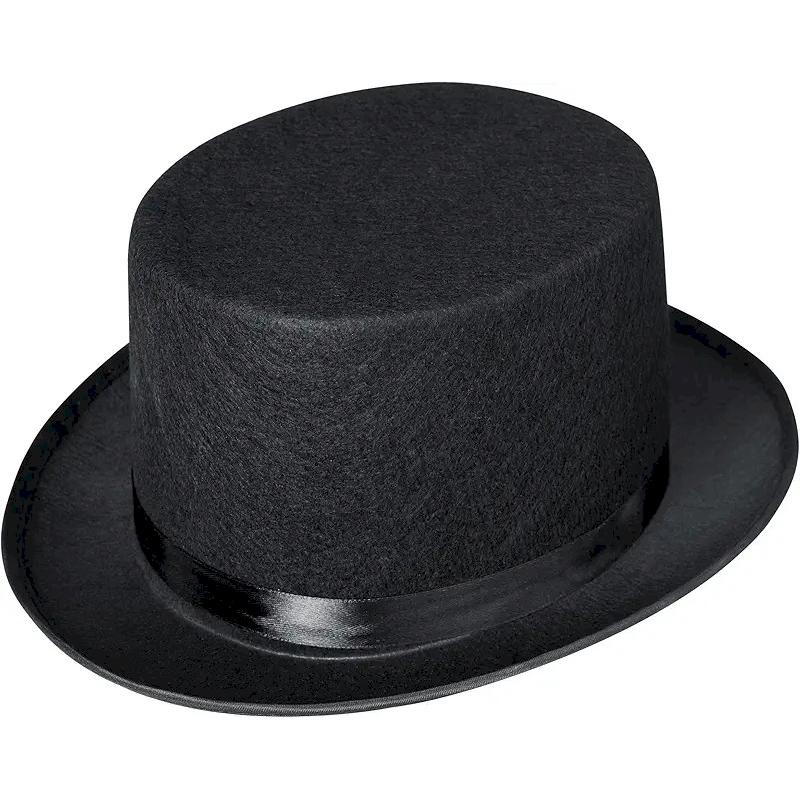
Classic Top Hat
The classic style has a height that extends above the head and a flat brim around the circumference. This hat is often associated with formal occasions and traditional attire.
Miniature Top Hat
A miniature top hat is a fun, whimsical version that can be worn as an accessory rather than for formal occasions. These hats often come in vibrant colors and decorative styles.
Wide-Brimmed Top Hat
Featuring an extended brim, this style offers more shade and a dramatic look. It’s perfect for summer events or costume parties.
Step-by-Step Instructions on How to Crochet a Top Hat
Now that you have a foundation in crocheting, the following steps will guide you through the process of creating your top hat.
Creating a Foundation Chain
To begin, you will start with a foundation chain that sets the base for your top hat.
- Chain the Required Length: Start by chaining enough stitches to form the base of the hat, ensuring that the chain comfortably fits around the head. This length will depend on the size you are making.
- Join in a Circle: Slip stitch into the first chain to create a circle, being careful not to twist the chain. This will form the hat’s base.
Crocheting the Body of the Hat
Once you have your foundation established, you will want to start building the body of the hat.
- Rounding Technique: Begin crocheting in rounds, usually employing single crochets or half double crochets to create texture. Each round should be joined with a slip stitch.
- Increase Rows: Continue to add rows, increasing the number of stitches in certain rounds to allow the hat’s body to expand as it rises.
Shaping the Brim
The brim of the hat can be adjusted based on personal preference. A wider brim can add a touch of drama, while a narrower brim keeps it classic.
- Creating the Brim: After establishing the desired height, begin working on the brim by adding new stitches into the existing last row. You can create either a flat or peaked brim, depending on your design choice.
- Stitch Variation: Feel free to experiment with different stitches in this section, such as shell stitches or openwork, to add unique character.
Finishing Off the Hat
Once you have completed the body and brim of your top hat, it is time to finish your project.
- Fastening Off: Cut a long tail of yarn, then pull it through the last loop to fasten off. This secures the end and prevents it from unraveling.
- Weaving in Ends: Use a yarn needle to weave in any loose ends, ensuring a tidy finish.
Adding Embellishments and Personal Touches
Finding ways to personalize your top hat will make the final product more expressive and unique to your style.
Decorating the Hat
Consider adding decorations to enhance the visual appeal of your top hat.
- Ribbons and Bows: Attach ribbons or bows around the base of the hat for a fresh, elegant look. You can choose colors that complement the yarn you used.
- Flowers or Feathers: Pin or sew in place some faux flowers or feathers for a whimsical touch. These additions can create a fun and vibrant character that makes your hat stand out.
Lining the Hat
If you want to take it a step further, adding a lining can improve comfort and elevate the overall finish.
- Choosing Fabric: Use a soft fabric, such as felt or cotton, for lining that will feel gentle against the skin.
- Sewing the Lining: Cut a circular piece of fabric to fit the interior of the hat and sew it carefully into place. This additional layer also helps maintain the shape of the hat.
Troubleshooting Common Issues
As you learn how to crochet a top hat, you may encounter some challenges. Being able to troubleshoot can help you feel more confident.
Uneven Stitches
If you notice that your stitches look uneven, consider the following:
- Gauge Issues: Ensure you are using the right hook size for your yarn. A smaller hook might result in tighter stitches, while a larger hook could lead to looser ones.
- Tension Awareness: Pay attention to the tension with which you hold the yarn. Consistent tension leads to consistent stitches.
Brim Problems
Brim issues can arise in various forms, such as curling or uneven alignment.
- Blocking Techniques: If your brim curls, try blocking it by wetting the fabric and shaping it into the desired position before allowing it to dry.
- Adjusting Rows: Ensure that you are adding enough rows to the brim to achieve your desired width. If it seems uneven, make adjustments as needed.
Conclusion
Learning how to crochet a top hat is a rewarding and enjoyable experience that not only enhances your crafting skills but also creates a functional and stylish accessory. By combining basic crochet techniques with creativity, you can transform simple yarn into a beautifully crafted top hat that fits your personal style.
This guide has walked you through the essential steps, from gathering materials and understanding different top hat styles to troubleshooting common issues. With a bit of practice, patience, and imagination, you can create a stunning top hat suitable for various occasions, whether it’s a costume party, a festive celebration, or simply to showcase your crochet talent.
So gather your materials, and let your creativity shine as you embark on this exciting journey of making your own top hat. You will enjoy not just the satisfaction of completing a unique project but also the admiration it brings when you wear or gift your creation.

