Crafting a top hat out of paper is a fun and creative project that allows you to express your artistic side while creating a fashionable accessory for various occasions. Whether you’re preparing for a themed party, a theatrical performance, or simply want a unique piece for a costume, making a paper top hat can be an enjoyable activity for both individuals and groups. Not only is this project cost-effective, using materials that are easily accessible, but it also encourages creativity as you can personalize the design to suit your style. In this comprehensive guide, we will explore everything you need to know about making a top hat out of paper, from the materials required to step-by-step instructions, as well as tips for embellishing and decorating your creation.
By the end of this article, you will be equipped with the knowledge needed to craft a stunning paper top hat that’s ready for any event.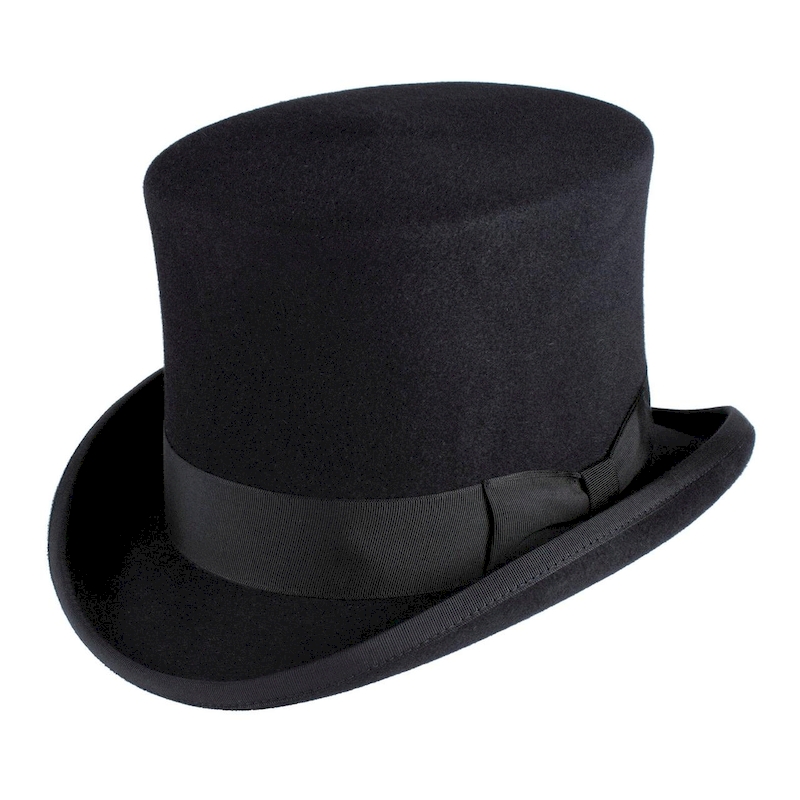
Materials You Will Need
Before you get started on making a top hat out of paper, it’s essential to gather all the necessary materials. Here’s a detailed list of what you will need:
Paper
- Cardstock or Heavyweight Paper: Choose a sturdy cardstock or heavyweight paper to ensure your hat holds its shape. Black is the traditional color for a classic top hat, but you can opt for any color or patterned paper that suits your taste.
Tools
- Scissors: A good pair of scissors will make cutting the paper much more manageable. Ensure they are sharp for precise cuts.
- Ruler: A ruler will help you measure and draw straight lines accurately.
- Pencil: Use a pencil for marking measurements and guidelines on your paper.
- Glue or Tape: Depending on your preference, you can use glue or double-sided tape to secure pieces together.
Optional Supplies
- Decorative Elements: If you want to add some flair to your hat, consider using embellishments like ribbons, sequins, or stickers.
- Paint or Markers: For personal touches, use paint or markers to decorate your top hat.
- Craft Knife: A craft knife can be used for cleaner cuts, particularly if you need to create intricate details.
With all materials gathered, you’re ready to dive into the crafting process!
Steps to Create Your Paper Top Hat
Step 1: Measure and Cut the Paper
Begin by determining the size of your top hat. To do this, measure the circumference of your head where you plan to wear the hat. Once you have this measurement, you can calculate how much paper you need.
- Create the Crown: Cut a rectangular piece of paper; the width should equal the desired height of the crown, and the length should be equal to your head circumference plus an extra inch for overlap.
- Cut the Brim: To create the brim, cut another rectangle that is significantly wider than the crown. The width should be about 2 to 4 inches, depending on how wide you want the brim to be.
Step 2: Fold the Crown
Once you have your rectangular crown piece:
- Fold the longer sides of the rectangle inward to create a rounded shape. You may need to crease the edges well to maintain a perfect roundness.
- Overlap the edges slightly and secure them with glue or tape to hold the shape.
Step 3: Attach the Brim
Now that you have your crown shape, it’s time to attach the brim.
- Flip the crowned piece upside down. Position it in the center of the brim rectangle.
- Mark where the crown meets the edge of the brim with your pencil. Cut slits at these marks to help the brim flex and wrap around the crown.
- Gently attach the edges of the brim to the crown using glue or tape. Ensure it is secure and maintains stability.
Step 4: Reinforce the Structure
To make your top hat more durable:
- Consider applying an additional layer of paper glue inside the seams where the crown meets the brim. This will help reinforce the structure and prevent it from bending or collapsing.
- Allow the glue to dry fully before moving on to decoration.
Step 5: Decorate Your Top Hat
Now is the fun part—decorating your newly crafted paper top hat!
- Add a Ribbon: Measure a length of ribbon that fits around the base of the crown. Secure it with glue or tape for a professional finish.
- Embellishments: Attach sequins, stickers, or any other decorative elements you desire. Get creative and personalize it according to your style!
- Use Paint or Markers: If you want to express your artistic side, use paints or markers to draw designs or patterns on your hat.
Step 6: Final Touches
Once you’re satisfied with the decorations, give your top hat a final inspection.
- Check for any loose edges or areas that may need reinforcing.
- Make sure everything is securely attached and dry.
Step 7: Wear and Show Off Your Creation!
Your DIY paper top hat is now complete! Try it on and make any necessary adjustments to fit comfortably. Wear it to themed parties, costumes, or any fun gatherings where you want to make a stylish statement.
Tips for Success in Making a Paper Top Hat
Experiment with Different Sizes
Don’t hesitate to experiment with different crown heights and brim widths to achieve a unique look. Varying these dimensions can help you create a top hat that’s truly distinctive.
Use Quality Materials
Investing in quality materials can elevate your top hat. Sturdy paper or cardstock will hold up better over time and result in a more professional appearance.
Practice Your Cutting Techniques
Practicing cutting techniques and using the proper tools can make a significant difference in the final outcome. Utilize sharp scissors for precise cuts and take your time.
Gather Inspiration
Look online for various designs of top hats to gather inspiration. Pinterest, Instagram, and craft blogs are great places to find unique ideas that can spark your creativity.
Follow Tutorials
If you prefer visual guidance, consider following video tutorials. Many craft enthusiasts share their processes on platforms like YouTube, which can help you follow along step by step.
Common Mistakes to Avoid
While making a top hat out of paper can be a fun and rewarding experience, some common mistakes can hinder your progress. Here’s what to avoid:
Not Measuring Carefully
Taking quick measurements or skipping them can lead to an ill-fitting top hat. Always measure twice before cutting to ensure accuracy.
Choosing the Wrong Materials
Using flimsy materials can result in a floppy or unstable hat. Opt for sturdy paper or cardstock to create a more structured appearance.
Skipping Reinforcement
Neglecting to reinforce seams and connections can result in a fragile structure. Always ensure that critical joins are adequately secured and allowed to dry.
Overloading on Decorations
While embellishments are great for personalization, overdoing them can make the hat appear cluttered. Aim for balance and cohesion in your decorations.
Rushing the Process
Crafting requires patience. Rushing through steps or getting impatient with drying times can lead to mistakes and a less-than-perfect outcome. Take your time and enjoy the process!
Decorating Ideas for Your Paper Top Hat
Enhancing your paper top hat with fun decorations can make a significant difference. Here are some creative decorating ideas:
Vintage Floral Accents
Dressing your top hat with vintage floral elements adds a touch of charm. Use paper flowers or cut-out shapes to create a lovely arrangement around the base of the hat.
Seasonal Themes
Consider decorating your top hat based on seasonal themes. For example, autumn leaves for fall, snowflakes for winter, or tropical designs for summer parties can create a festive vibe.
Character-Themed Designs
Make your hat spend time highlighting specific characters, such as a magician or a Victorian gentleman. Use symbols and designs that represent character traits or iconic elements.
Light and Color Effects
Use metallic paper or transparent materials for dramatic effects. Experimenting with layering papers of different colors can create depth and visual interest.
Whimsical Touches
Dare to be adventurous! Funky patterns, whimsical doodles, or quirky shapes can help you create a standout piece.
Exploring the Cultural Significance of Top Hats
Historical Context
Top hats have traditionally been associated with formal attire and social class. They gained prominence as a status symbol in the 19th century, particularly among British aristocracy. Today, the top hat remains a popular choice for formal events, weddings, and celebrations, reminding us of its regal history.
Symbol of Sophistication
Wearing a top hat has become synonymous with sophistication and elegance. The hat plays a role in various cultural settings, enhancing the formal attire of attendees at grand events like the Royal Ascot or weddings.
Artistic Representation
The top hat has frequently been featured in art, literature, and film. Iconic characters such as the Mad Hatter from “Alice in Wonderland” highlight the top hat’s whimsical nature, while historical figures accentuate its significance in showcasing elegance.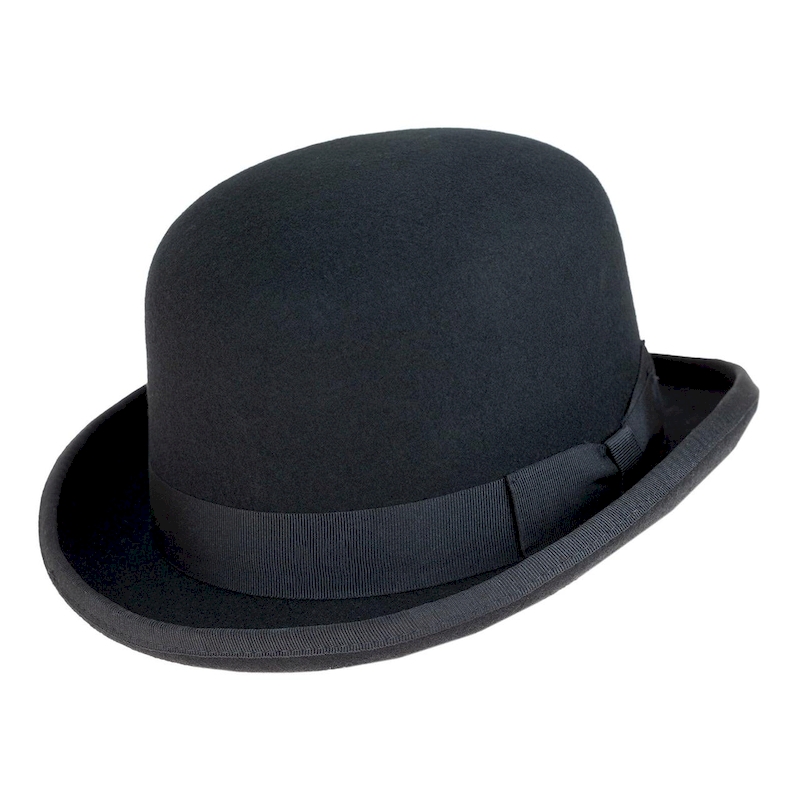
Conclusion
Making a top hat out of paper is not only a delightful creative endeavor but also a way to engage with fashion and self-expression. Throughout this article, we have explored the history and significance of the top hat, the step-by-step process for creating one, and various decoration ideas to personalize your design.
Whether you are crafting for a special event, a costume party, or simply for fun, your DIY paper top hat can symbolize your dreamy creativity and imagination. Remember to take your time with measurements, select quality materials, and enjoy the process.
As this classic accessory continues to enjoy various iterations in contemporary fashion, there is no limit to how you can use your skills to produce a stylish and unique top hat. So gather your materials, unleash your creativity, and show the world that a paper top hat can shine just as brightly as any traditional piece of headwear how to make a top hat out of paper.
