Transforming a pair of pants into stylish shorts is a practical and creative way to refresh your wardrobe. Whether you’re looking to repurpose old jeans or create a trendy summer look, knowing how to cut pants into shorts properly ensures a professional finish and comfortable fit. This guide will walk you through the entire process, from selecting the right pants to making precise cuts and finishing touches.
Choosing the Right Pants
1. Assessing the Fabric
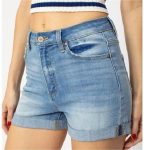
How to cut a pair of pants into shorts? Before you start, it’s essential to choose the right pair of pants. Fabrics such as denim, cotton, or lightweight twill work best for cutting into shorts.
Why Fabric Matters
- Denim: Durable and ideal for a rugged look. It holds its shape well after cutting.
- Cotton: Comfortable and breathable, perfect for casual shorts.
- Twill: A versatile fabric that provides a polished finish.
2. Checking the Fit
Ensure the pants fit comfortably around your waist and hips. How to cut a pair of pants into shorts? The fit will determine how your shorts will look and feel.
Fit Considerations
- Waist Size: Make sure the waistband is comfortable and won’t be too tight after alteration.
- Leg Length: Consider the original length to ensure you cut to the desired length.
Preparing for the Cut
1. Gather Your Tools
To cut pants into shorts, you’ll need a few essential tools to ensure accuracy and a clean finish.
Essential Tools
- Fabric Scissors: Sharp and precise for clean cuts.
- Measuring Tape: For accurate measurements.
- Chalk or Fabric Marker: To mark cutting lines.
- Ruler or Straight Edge: To ensure straight lines.
2. Measure and Mark
Accurate measurements are crucial for achieving the perfect length. Decide how short you want your shorts to be and mark the fabric accordingly.
Measurement Tips
- Inseam Measurement: Measure from the crotch seam to the desired length.
- Marking Lines: Use chalk or a fabric marker to draw a straight line across the pants where you’ll cut.
Cutting the Pants into Shorts
1. Cutting the Fabric
How to cut a pair of pants into shorts? Once you’ve marked your cutting lines, it’s time to cut. Follow these steps for a clean finish.
Cutting Instructions
- Align the Fabric: Fold the pants along the inseam to ensure both legs are even.
- Cut Slowly: Use sharp fabric scissors and cut along the marked lines.
2. Creating a Clean Edge
To prevent fraying, consider finishing the edges. This step is optional but adds a polished touch to your new shorts.
Finishing Options
- Hemming: Fold the edges inside and sew them for a clean hem.
- Fraying: For a casual look, you can let the edges fray naturally.
Adding Style to Your Shorts
1. Distressing or Embellishments
Customize your shorts with additional details such as distressing or embellishments.
Customizing Tips
- Distressing: Use sandpaper or a razor to create a distressed look.
- Embellishments: Add patches, studs, or embroidery for a unique touch.
2. Adjusting the Fit
After cutting, try on your shorts and make any necessary adjustments to ensure a perfect fit.
Fit Adjustments
- Take in the Waist: If the shorts are too loose, adjust the waistband with a belt or take them in.
- Shorten the Length: If you prefer a shorter look, trim the hem accordingly.
Troubleshooting Common Issues
1. Uneven Cuts
If your cuts are uneven, you can trim them to achieve a straight line or use a fabric tape to help guide your scissors.
Fixing Uneven Cuts
- Use a Ruler: Align with a ruler or straight edge for better accuracy.
- Even Out: Trim any uneven areas carefully.
2. Fraying Issues
If the edges are fraying more than desired, you can use fabric glue to secure them or sew a small hem.
Fraying Solutions
- Fabric Glue: Apply a small amount to prevent excessive fraying.
- Sewing: A simple hem can prevent fraying and give a finished look.
Maintaining Your New Shorts
1. Washing and Care
Proper care will extend the life of your shorts and keep them looking fresh.
Care Instructions
- Wash Inside Out: To preserve the color and prevent wear.
- Avoid High Heat: Dry on a low setting or air dry to prevent shrinking.
2. Storage Tips
Store your shorts in a cool, dry place to maintain their shape and prevent damage.
Storage Suggestions
- Avoid Overcrowding: Ensure there’s enough space to avoid wrinkles.
- Fold Neatly: Store neatly to maintain the shape and avoid creases.
Customizing Your Shorts for a Unique Look
1. Adding Pockets
How to cut a pair of pants into shorts? Enhance your shorts by adding pockets. This adds both functionality and style.
Pocket Options
- Patch Pockets: Sew on pockets for a classic look.
- Inseam Pockets: Add side pockets for a more integrated design.
2. Experimenting with Length
Adjust the length of your shorts based on current fashion trends or personal preference.
Length Variations
- High-Rise Shorts: Shorten the pants to create a high-rise effect.
- Bermuda Shorts: Leave more length for a longer, Bermuda style.
Using Your Shorts for Seasonal Fashion
1. Summer Styles
Embrace summer trends with vibrant colors, patterns, and light fabrics.
Summer Styling Tips
- Bright Colors: Opt for bright or pastel hues to complement summer vibes.
- Patterns: Floral or geometric patterns can add a fun twist to your look.
2. Transitioning to Fall
Prepare your shorts for cooler weather by pairing them with tights or layering with jackets.
Fall Fashion Ideas
- Layering: Add tights or leggings underneath for warmth.
- Jackets: Pair with a stylish jacket or sweater for a cozy fall outfit.
DIY Short Patterns and Designs
1. Crafting Your Own Patterns
Create unique patterns for your shorts using templates or design your own.
Pattern-Making Tips
- Use Existing Shorts: Trace your favorite pair to create a pattern.
- Custom Designs: Experiment with different shapes and cuts for a personalized look.
2. Incorporating Embellishments
Add flair to your shorts with DIY embellishments like fabric paint, patches, or beads.
Embellishment Ideas
- Fabric Paint: Create custom designs or patterns.
- Patches and Beads: Sew on decorative patches or beads for a unique touch.
Caring for Your Customized Shorts
1. Repairing Damage
Address any damage promptly to extend the life of your shorts.
Repair Techniques
- Sewing: Use a needle and thread to fix small tears or holes.
- Fabric Glue: For quick fixes, apply fabric glue to secure loose edges.
2. Refreshing the Look
Keep your shorts looking fresh by periodically updating their style or making small adjustments.
Refreshing Tips
- Re-Distress: Add new distressing for a fresh look.
- New Embellishments: Update with new patches or paint designs.
Exploring Additional Design Options
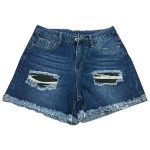
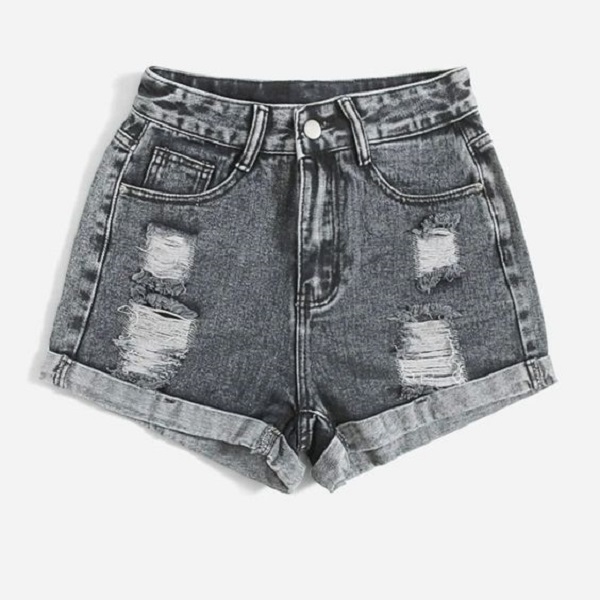
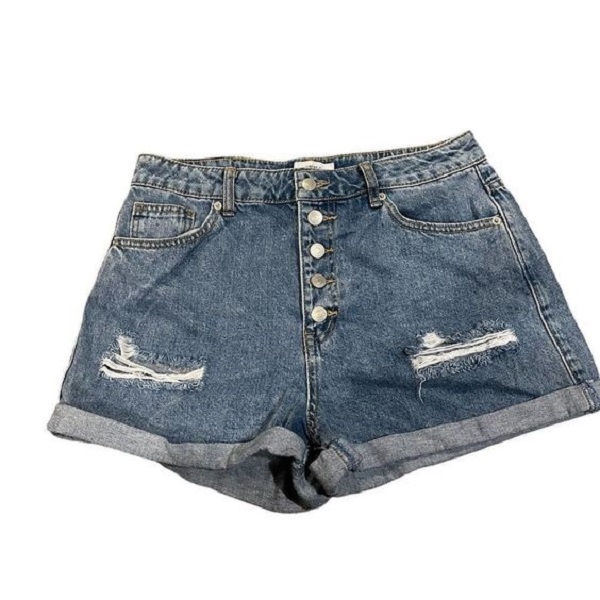
1. Creating a Distressed Look
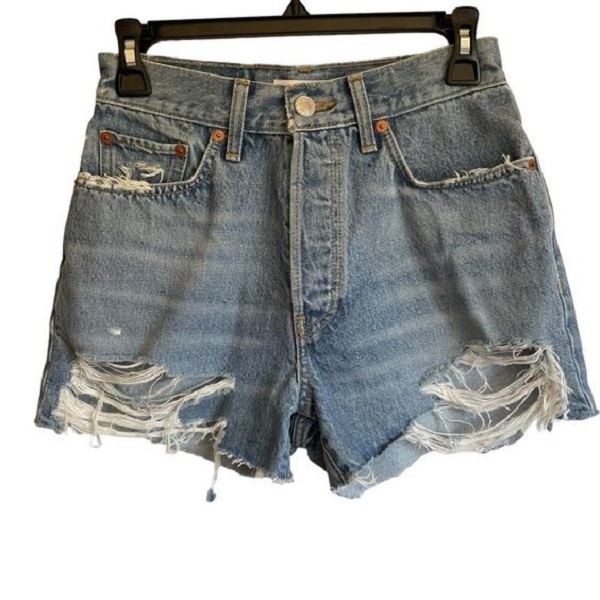
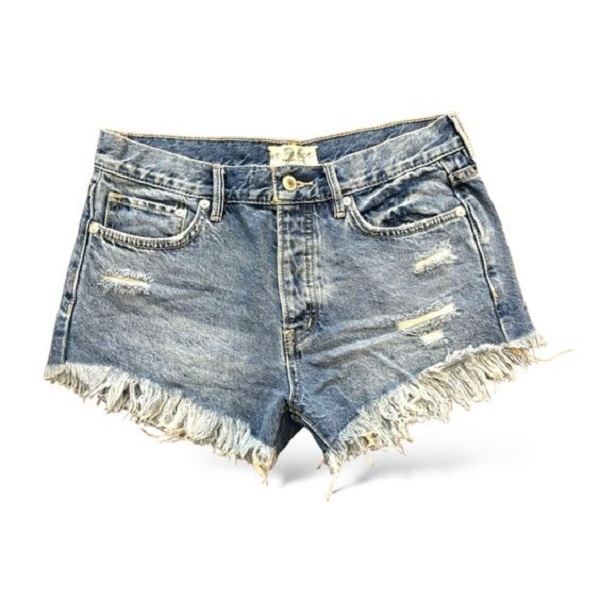
Distressing your shorts can add a trendy, vintage vibe. This method works well with denim and other sturdy fabrics.
How to Distress
- Shredding: Use a razor or sandpaper to create frayed edges and small rips.
- Bleaching: Apply bleach selectively for a unique color effect.
2. Adding Decorative Elements
Enhance your shorts with various decorative elements to make them stand out.
Decorative Ideas
- Embroidery: Hand-stitch designs or patterns for a personalized touch.
- Studs and Rhinestones: Attach studs or rhinestones for a bit of sparkle and edge.
Adjusting Fit and Comfort
1. Tailoring for a Perfect Fit
If your newly cut shorts need adjustments, tailoring can ensure they fit perfectly.
Tailoring Tips
- Adjust Waistband: Add belt loops or adjust the waistband for a better fit.
- Alter Hems: Shorten or lengthen the hem as needed for the best look and comfort.
2. Adding Stretch
For a more comfortable fit, consider adding elastic or spandex to your shorts.
Adding Stretch
- Elastic Waistband: Insert an elastic band into the waistband for added comfort.
- Spandex Blend: Mix spandex with your fabric for a stretchier fit.
Seasonal Fashion Adaptations
1. Spring and Summer Styles
Make your shorts suitable for warmer weather with bright colors and lightweight fabrics.
Spring/Summer Adaptations
- Light Fabrics: Opt for materials like linen or lightweight cotton.
- Bright Patterns: Incorporate floral or tropical prints for a fresh, seasonal look.
2. Fall and Winter Adaptations
Adapt your shorts for cooler weather by layering and choosing warmer fabrics.
Fall/Winter Adaptations
- Layering: Wear with tights or leggings for added warmth.
- Heavier Fabrics: Choose thicker materials or add lining for winter comfort.
Conclusion
Cutting a pair of pants into shorts is a simple yet effective way to revamp your wardrobe. By choosing the right fabric, measuring accurately, and finishing with care, you can create stylish and comfortable shorts tailored to your preferences. Customize with embellishments or distressing to add your personal touch and enjoy your new summer-ready look.