Introduction to DIY Cowboy Hat Crafting
Crafting your own cowboy hat is a fun and rewarding DIY project. Whether for a costume, themed event, or personal style, making a cowboy hat can be a great way to save money and unleash your creativity. This guide will provide a step-by-step process on how to make a cowboy hat. We will cover everything from selecting materials to final touches.
You don’t need to be a crafting expert. These instructions are straightforward and designed for all levels. The satisfaction of wearing a self-made cowboy hat is unbeatable. It adds a personal touch to your outfit and can be a point of pride. Plus, it allows for customization to match your unique style.
From shaping to decoration, we’ll explore two methods: using a pre-made hat base and creating one from foam. Both possibilities offer flexibility depending on what materials you have on hand or your specific needs. Get ready to dive into the world of DIY cowboy hat crafting and add a handmade piece to your wardrobe or costume collection.
Materials Needed for Your Cowboy Hat
Before you dive into the process of crafting your cowboy hat, it’s important to gather all the necessary materials. Here is a list of items you’ll need to get started:
- A hat base: Choose a pre-made hat as the foundation for your cowboy hat project. A simple straw or foam hat will do. This will be your canvas.
- Glue: Strong adhesive is essential for holding your hat’s shape. Elmer’s glue or a similar type works well.
- Water: For diluting the glue, helping it penetrate the material better.
- A bowl: Large enough to mix your glue and water, and potentially to soak the hat in the mixture.
- Scissors: Sharp scissors are needed for trimming and shaping the materials.
- Needle and thread: These will help secure the hat into its desired shape before adding the glue.
- Measuring tape: Measure your head to ensure the hat fits properly.
- Clear beading thread: If opting for foam, you’ll need this to stitch the pieces together.
- Foam sheets (only if using the foam method): The base material for creating the hat from scratch.
- Ruler: To assist in getting straight cuts and measuring foam sheets accurately.
- Ribbon: For decorative elements like bands.
- Hot glue gun (optional): A useful tool for attaching decorations.
Once you have all of these items, you’re ready to move on to shaping your DIY cowboy hat. Remember to pick quality materials that will endure the crafting process and the wear and tear of use. Now let’s move on to the next step in crafting your own cowboy hat.
Step 1: Choosing the Right Hat Base
Finding the right hat base is key to your DIY cowboy hat project. You have two main options: a straw hat or a foam hat, both of which offer a good foundation. Here’s how to choose the best one for you:
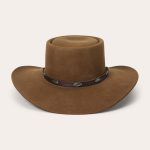
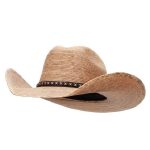
- Selecting a Straw Hat: If you prefer a more traditional look, a straw hat is perfect. Pick one from a dollar store or a craft shop. Ensure it is sturdy enough to handle shaping and gluing. Remember, it doesn’t have to be perfect initially; you’ll mold it to your desired style.
- Opting for Foam: For a more child-friendly or lightweight option, consider foam. Foam sheets can be cut and glued to create a custom-fit cowboy hat. This material is cost-effective and great for kids’ costumes or dress-up boxes.
When choosing your base, consider the hat’s final use. Is it for a one-time event or repeated wear? This will help dictate your material choice. Once you have your base, you’re set to begin shaping your DIY cowboy hat to perfection.
Step 2: Shaping Your Cowboy Hat
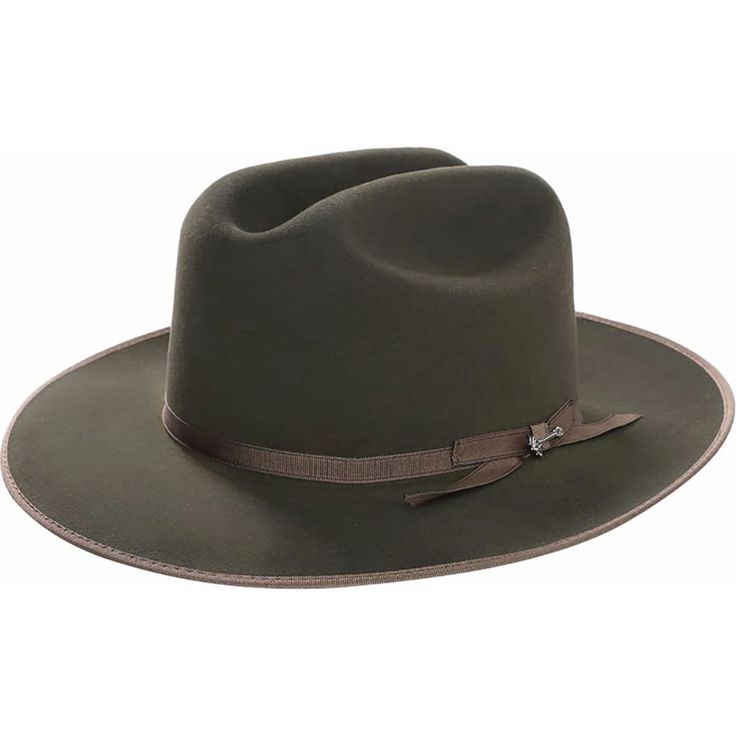
Shaping your cowboy hat is where creativity meets skill. Begin by deciding the hat’s desired shape. Options range from a classic cowboy profile to a more modern style. Use your hands to bend and twist the hat base into form. Focus on creating prominent ridges and a curved brim to establish a cowboy look.
For a straw hat, apply gentle pressure to create dents and bends. Use a needle and thread to hold these shapes temporarily. Ensure a comfortable fit by trying the hat on several times during shaping.
If you’re working with foam, cut the foam sheets into the necessary parts: the rim, rise, and top. Stitch these pieces together with clear beading thread, paying attention to precision.
Remember to account for the wearer’s head size by measuring before cutting. Both straw and foam require patience, as you shape and adjust for the perfect cowboy hat contour.
Your shaping efforts set the stage for a robust and stylish cowboy hat. So take your time with this step to ensure a great outcome.
Step 3: Strengthening the Shape with Glue
Once you have your cowboy hat shaped, it’s time to make it sturdy. In this step, we’ll use glue to solidify the form and give it a long-lasting hold. Here’s how to reinforce your hat with glue:
- Mix the Glue: Combine water and glue in a bowl. If using a straw hat, a 3-to-1 ratio of water to glue works well. For foam, you might need less water, as foam absorbs differently.
- Apply the Glue Mixture: Use a brush or your fingers to spread the diluted glue over the hat. Pay special attention to creases and folds. Make sure the glue reaches every part to create a uniform look.
- Allow to Dry: Let the hat sit until it’s completely dry. This may take several hours or overnight. Drying time will depend on the material and the amount of glue used.
- Check the Shape: Once dry, see if the hat holds its shape well. If not, you might need to apply more glue mixture to firm up any floppy areas.
After strengthening your cowboy hat with glue, it will be ready for the final touches. This step is crucial for making sure your hat is durable and wearable for any occasion.
Step 4: Adding the Final Touches
After your cowboy hat is solid and dry, it’s time for the fun part – adding those personal final touches. These final steps will transform your hat from a simple craft to a unique piece of art that expresses your individual style.
- Trimming and Smoothing: Use your scissors to trim any excess material or loose threads. For a straw hat, snip carefully to avoid fraying. For a foam hat, smooth out edges for a clean look.
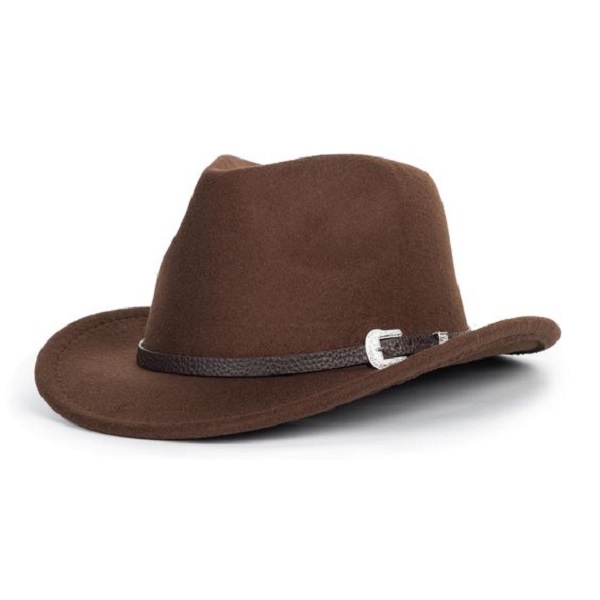
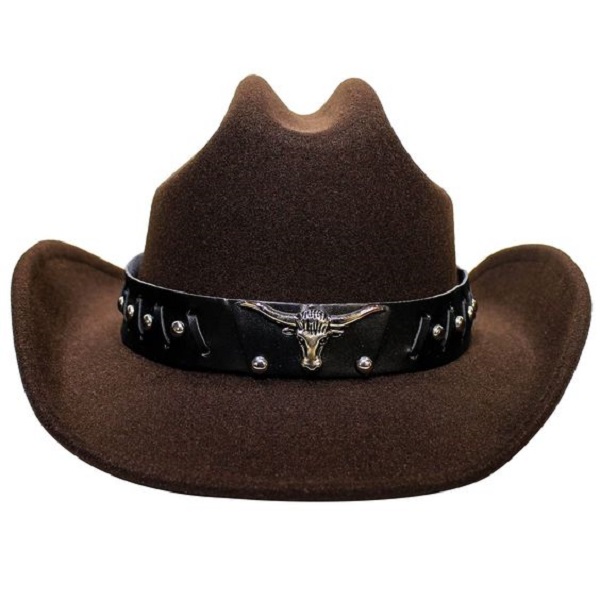
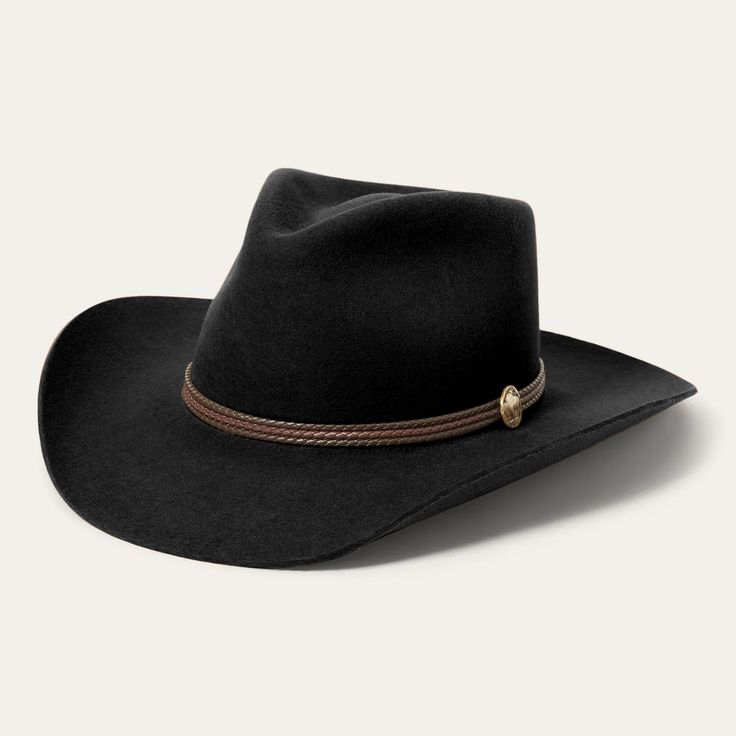
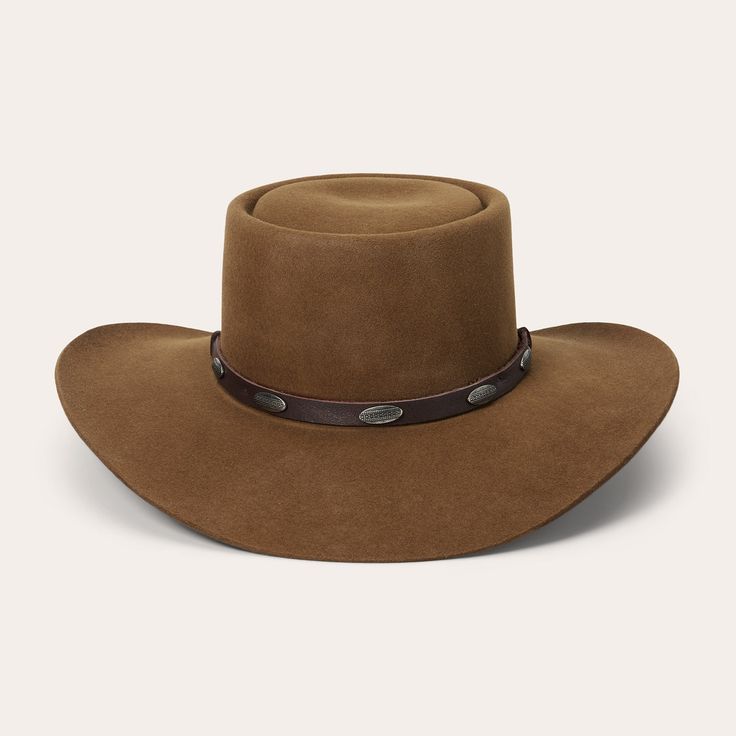
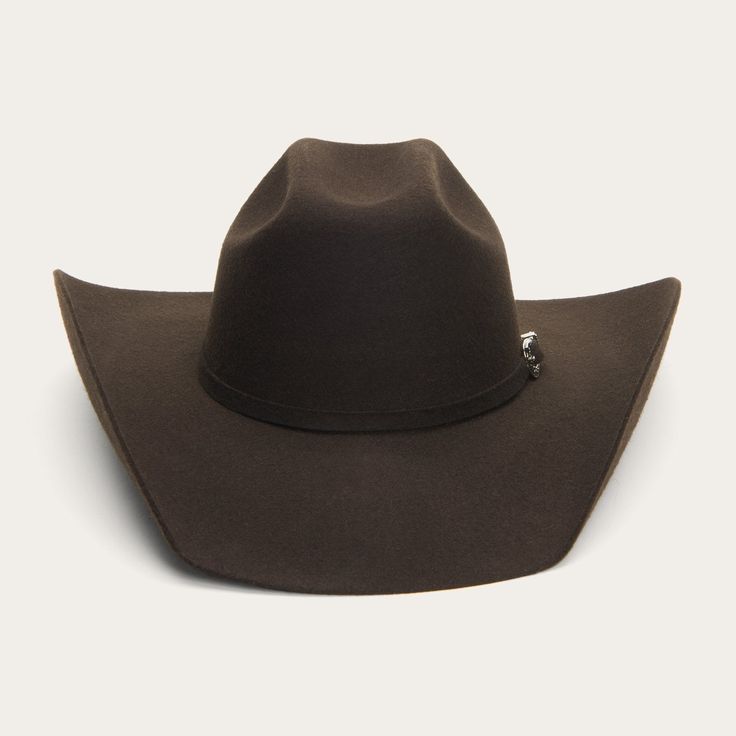
- Adding a Hatband: A ribbon or fabric strip can serve as a hatband. Measure it around the hat’s base and attach it with glue or stitches. Pick a color that matches or contrasts well with your hat.
- Creative Decoration: Unleash your creativity here. Feathers, beads, or any decorative items add character to your cowboy hat. Use a hot glue gun for a strong hold.
- Forming Final Shapes: With straw, you might need to refine the brim by bending it slightly. For foam, you could cut out shapes to add more dimension to the hat.
- Ensuring Comfort: Check the inside of the hat. Add a strip of fabric or foam for a softer fit against the forehead.
Remember, balance is key. Don’t overload your hat with decorations. And now, step back and admire your handcrafted cowboy hat – a testament to your DIY skills and creativity.
Alternative Method: Creating a Foam Cowboy Hat
If straw isn’t your style or you’re crafting for kids, foam is a smart alternative. Creating a cowboy hat from foam offers flexibility and comfort. The steps differ slightly from the straw method. Here’s a quick guide:
- Cut the Foam: Measure the wearer’s head and use those dimensions to cut the foam sheets. You’ll need pieces for the brim, sides, and top of the hat.
- Stitch the Pieces: Use clear beading thread to sew the pieces together. Start with the sides, attaching them to the top part. Next, fix the brim in place.
- Shape the Hat: Foam is easy to mold. Bend it to form the curves and ridges of a cowboy hat. Use a ruler to fold edges for a straight look.
- Add Decorations: Use a glue gun to attach ribbons or other decor. Be creative, but keep it simple.
- Finish Up: Check the fit and comfort. Add padding inside the hat for a snug feel.
Making a cowboy hat from foam is an easy project. It’s great for costumes or playtime. With little cost, you will have a durable, lightweight hat.
Tips for Customizing Your Cowboy Hat
Once you’ve crafted the basic structure of your cowboy hat, it’s time to add a personal touch. Here are tips to customize your hat:
- Pick a Theme: Decide on a theme. Will it be traditional or something modern? Match it with your event or outfit.
- Choose Colors Wisely: Select colors that stand out or blend in. Think about what you’ll wear with the hat.
- Select Decorations: Add items like badges, ribbons, or even hand-painted designs. The sky’s the limit, but don’t overdo it.
- Use Fabric Pieces: Consider using scraps of fabric for a patchwork effect. Fabric can add texture and depth.
- Feathers and Beads: Stick on feathers or beads for flair. Make sure they’re secure, so they won’t fall off.
- Personalize with Initials: Sew or glue on your initials. It makes the hat uniquely yours.
- Consider Seasons: Think about the weather. If it’s summer, maybe add light colors or airy designs.
- Comfort is Key: Customization isn’t just about looks. Make sure the hat is still comfortable to wear.
- Change It Up: Temporary decorations allow you to switch styles. Use pins for items you might want to change later.
Customizing your cowboy hat is the final step in the crafting process. It’s where you can showcase your creativity and make the hat fit your personality. Have fun with it, but keep in mind the balance and the original cowboy style. Enjoy wearing a cowboy hat that’s truly one of a kind.
Conclusion: Enjoy Your Handcrafted Cowboy Hat
Congratulations on crafting your very own cowboy hat! It’s a unique accessory that showcases your skills and creativity. Wear it with pride to events, parties, or as part of your daily fashion. Here’s what you should keep in mind as you flaunt your DIY masterpiece:
- Celebrate Your Effort: You’ve turned simple materials into a wearable piece of art. That’s impressive!
- Embrace Customization: Remember, the hat reflects your personal style. Each decoration tells a story.
- Versatility: Your cowboy hat isn’t just for one occasion. Use it for various events or as part of a costume collection.
- Comfort and Fit: Double-check that your hat feels good to wear. Adjust as needed for comfort.
- Maintenance: Take good care of your hat. Store it properly to maintain its shape and look.
- Inspire Others: Your hat might prompt friends and family to try DIY projects too.
Every time you put on your cowboy hat, you’ll remember the fun process of making it. From choosing the right base to shaping and customizing, you created something special. Now, step out and show off your handcrafted cowboy hat. It’s a conversation starter and a testament to your dedication and inventiveness. Enjoy your creation!