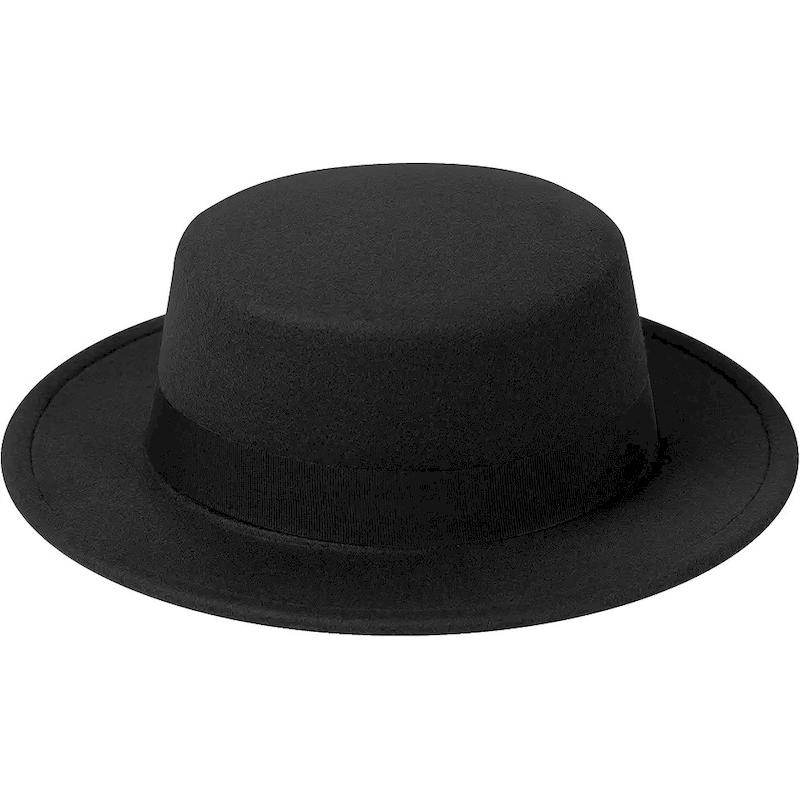
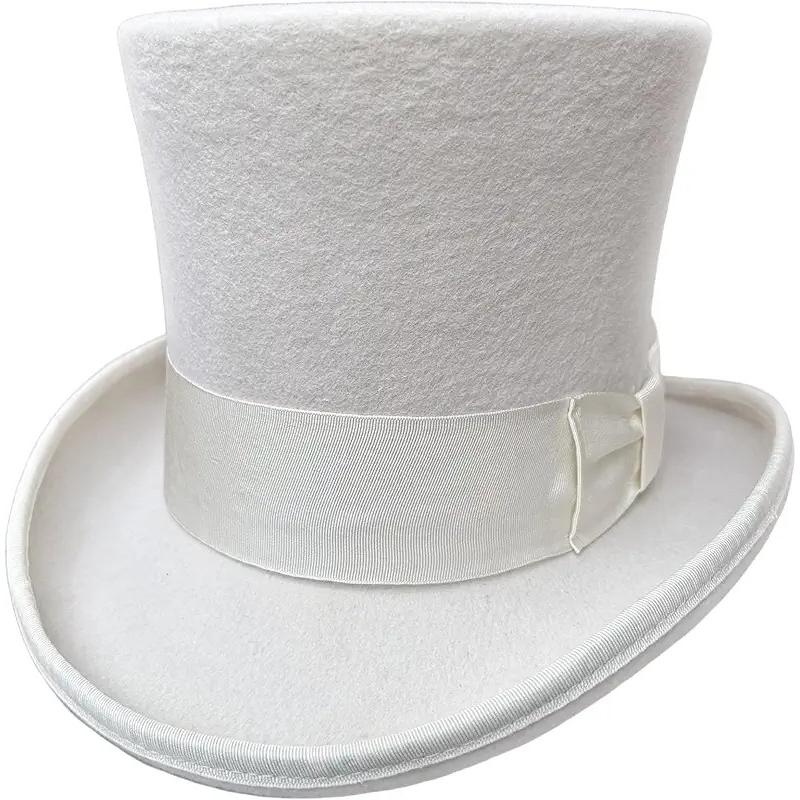
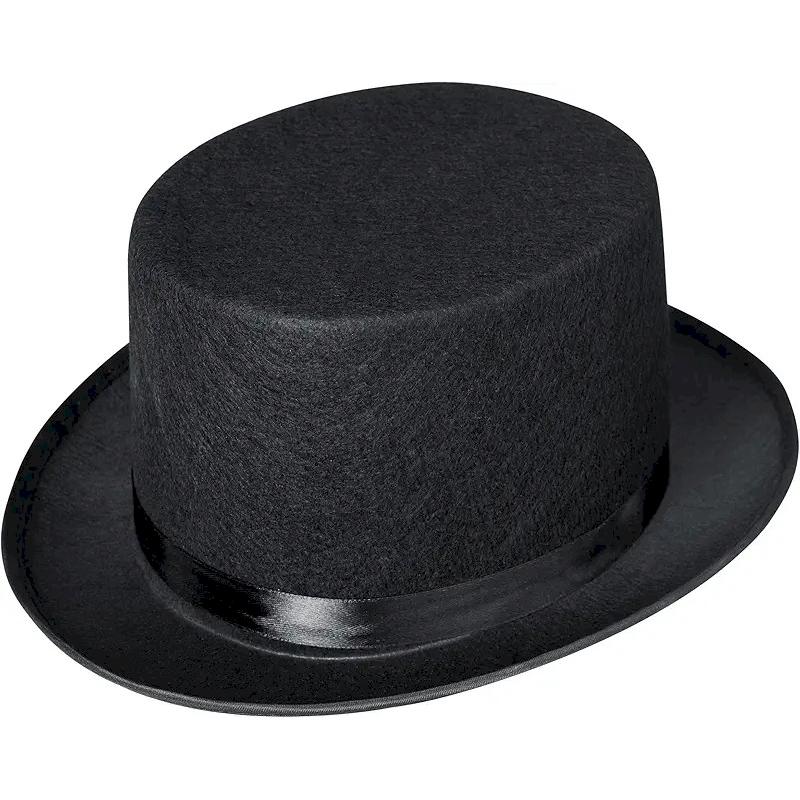
The paper top hat has become an iconic symbol of elegance and whimsy, often leaving a delightful impression whether it graces a child’s birthday party, a themed event, or even a theatrical performance. But how do you create such a charming piece of headgear? The process of making a paper top hat can be enjoyable and simple, making it an ideal project for all ages. With a few basic materials, a dash of creativity, and the right techniques, anyone can craft their very own paper top hat. This guide will walk you through the entire process: from selecting suitable materials to adding decorative elements that suit your personal style. You will learn different techniques and explore various designs and color schemes, ensuring that your paper top hat is not just functional but also a unique expression of your personality. Whether you’re preparing for a special occasion or simply looking for a fun craft to share with friends and family, this article provides everything you need to know about how to make a paper top hat.
Understanding the History of the Top Hat
Before diving into crafting a paper top hat, it’s important to appreciate the historical significance of this headpiece. The top hat has a rich history that dates back to the early 19th century, evolving in style and cultural significance over the years.
Origins of the Top Hat
The top hat, sometimes referred to as the “high silk hat,” originated in Western fashion in the 1700s. Initially, it was made from felt and predominately worn by the upper classes during formal events. Its tall silhouette became synonymous with sophistication and status, particularly during the Victorian era.
The Top Hat in Popular Culture
The top hat is featured prominently in popular culture, often associated with magic, theater, and special occasions. Iconic figures, such as magicians and politicians, have famously donned the hat, making it a staple of high society. Even today, the top hat is often seen in performances, parades, and formal ceremonies.
Symbolism
While it carries a weight of tradition, the top hat symbolizes creativity and flair. It has migrated into various artistic representations, adding a whimsical touch to events where fun and creativity reign supreme. This makes it an ideal choice for crafts and celebrations.
Gathering Materials for Your Paper Top Hat
Now that you’ve learned about the historical context of the top hat, it’s time to gather the necessary materials. Making a paper top hat requires minimal resources, which makes it accessible and enjoyable for all ages. Here’s what you’ll need:
Basic Supplies
- Paper: You can use craft paper, poster board, or even recycled cardboard. The choice of paper will dictate the hat’s durability and style.
- Scissors: A good pair of scissors is vital for cutting shapes and designs accurately.
- Glue or Tape: You’ll need a strong adhesive to hold the paper pieces together. For quick assembly, tape is also an option.
- Ruler: Measuring is essential for ensuring symmetry and proper sizing.
- Pencil: Use a pencil for marking measurements and designs before cutting.
Decorative Elements
Once you have the basic materials, consider adding decorative elements that bring your paper top hat to life:
- Markers or Paints: These are great for personalizing your top hat with colors, patterns, or designs.
- Ribbons, Feathers, or Gems: Enhance your hat with unique embellishments to give it character and style.
- Stickers or Decorative Tape: These can offer a quick and creative way to beautify your top hat.
Measuring for Your Paper Top Hat
Proper measurements will ensure that your paper top hat fits comfortably and looks fantastic. Here’s how to measure and plan your hat:
Measuring Your Head
- Gather a measuring tape or string: Use a soft measuring tape or string to measure your head circumference. If you’re using string, mark the spot and then measure it against a ruler.
- Wrap the tape around your head: Position the tape about half an inch above your ears and across your forehead. Ensure it’s snug but not too tight, as you want a comfortable fit.
Planning the Size of the Hat
- Determine the desired height of the crown: The traditional top hat has a tall crown. Decide on how high you want it, keeping in mind that this height will determine how much paper you will need.
- Decide on a brim width: The brim frames the hat and adds flair. A standard width for the brim is about 2 to 4 inches, depending on the style you envision.
Crafting the Base of the Paper Top Hat
Now that you have your measurements, it’s time to begin constructing the paper top hat. This section will outline the initial steps to create the hat’s base.
Creating the Hat Crown
- Cut a Rectangle: Based on the height you’ve determined, cut out a rectangle from your paper—its width should match your head circumference plus an additional inch for overlap. For example, if your head circumference is 22 inches and you want a height of 6 inches, the first rectangle would measure 23 inches (22 + 1) by 6 inches.
- Roll the Rectangle: Carefully roll the rectangle into a cylinder shape to form the crown of the hat. Overlap the ends slightly and secure them with glue or tape.
Crafting the Brim
- Cut a Larger Circle: For the brim, cut a larger circle from your paper. Make sure this circle has a radius that exceeds the crown’s cylinder by 3-4 inches all around to create a good overhang. You can use a compass or trace around a large circular object, such as a dinner plate.
- Cut a Smaller Circle: Then cut a smaller circle from the center of the larger one. The radius of this smaller circle should match the opening of the rolled crown’s top. By doing this, you create a ring that will hold the crown.
- Attach the Crown to the Brim: Place the cylindrical crown through the center of the brim ring and secure it with glue or tape. Ensure the crown is properly centered on the brim.
Decorating Your Paper Top Hat
Once you have the basic structure of your paper top hat, it’s time to unleash your creativity. Customize your creation by adding style and flair.
Choosing a Color Theme
Deciding on a color palette is essential. Choose colors that resonate with the event you are attending, whether it’s a festive celebration, a garden party, or a theatrical performance. You can stick to:
- Classic Black and White: Timeless elegance for formal events.
- Bright Primary Colors: Perfect for children’s parties or fun-themed occasions.
- Metallic Shades: Gold or silver hues can add a touch of glamour.
Adding Details
- Patterns and Designs: Use markers or paints to create stripes, polka dots, or even floral patterns on your top hat. Experiment with various designs to see what matches your vision.
- Embellishments: Attach ribbons around the base of the crown for an elegant touch. Feathers or fabric flowers can bring your paper top hat to life. Glue gems or sequins as accents to add sparkle and shine.
- Personal Touch: Consider adding a name tag, birthday message, or themed decorations to make the hat unique to its occasion.
Final Assembly
Once your decorations are attached, allow glue to dry completely. Go over any areas that might need touch-ups or reinforcement. Check for any edges that might need trimming or adjustments.
Utilizing Your Paper Top Hat
Congratulations! You’ve successfully made a paper top hat. Now, let’s explore some fun ways to utilize it and enjoy your creative work.
Themed Parties and Events
Paper top hats are perfect for themed parties, costume events, and celebrations. Depending on the color choices and embellishments, they can fit various themes, such as:
- The Great Gatsby: Celebrate the Roaring Twenties with a classic black or sequined top hat.
- Masquerade Balls: Elevate your masquerade costume with an elaborately decorated paper top hat.
- Birthdays: Make birthday celebrations memorable by asking guests to wear personalized paper top hats.
Arts and Crafts Activities
Engage friends or family in crafting paper top hats. Perhaps host a crafting party where different designs, colors, or themes can be explored. Encouraging creativity will foster togetherness and enjoyment.
Prop for Performances
Actors can use paper top hats as props during plays and performances. They serve not only as accessories but can also symbolize character traits that contribute to storytelling.
Caring for Your Paper Top Hat
If you want to preserve your artistic creation, it’s essential to care for your paper top hat properly. Here are a few tips to maintain its shape and appearance:
Storage
Store your top hat upright to maintain its shape. Avoid bending or crushing it. Consider placing it in a hat box or a protective covering that maintains its form.
Avoid Moisture
Keep your paper hat away from moisture and humidity to prevent damage. Direct exposure to water can warp and ruin the structure.
Gentle Cleaning
If your top hat becomes dirty, gently wipe it with a damp cloth. Avoid scrubbing too hard, as this can damage the surface or remove paint.
Reinforce as Needed
If the paper starts to show wear, reinforce areas with additional glue or tape. This will ensure longevity, allowing you to reuse the hat for various occasions.
Conclusion
Crafting a paper top hat is a delightful, imaginative project suitable for all ages and occasions. Whether you are preparing for a special event, celebrating a birthday, or simply looking to express your creativity, the process can be both fun and fulfilling. From gathering materials and measuring for a perfect fit to decorating with vibrant colors and unique embellishments, each step contributes to creating a stunning and stylish accessory that can enhance any occasion.
With this comprehensive guide on how to make a paper top hat, you are now equipped to channel your inner creative spirit. So grab your materials, roll up your sleeves, and embrace the joy of crafting. Not only will you end up with a fantastic accessory, but you will also create a lasting memory that can be shared with friends and family. From themed parties to casual gatherings, the paper top hat is sure to bring smiles and compliments while boosting your creative journey.

